Jennifer Henry
Ingredients
17
Count
Nutrition
439
Calories
Ready In
60
Mins
Difficulty
Easy
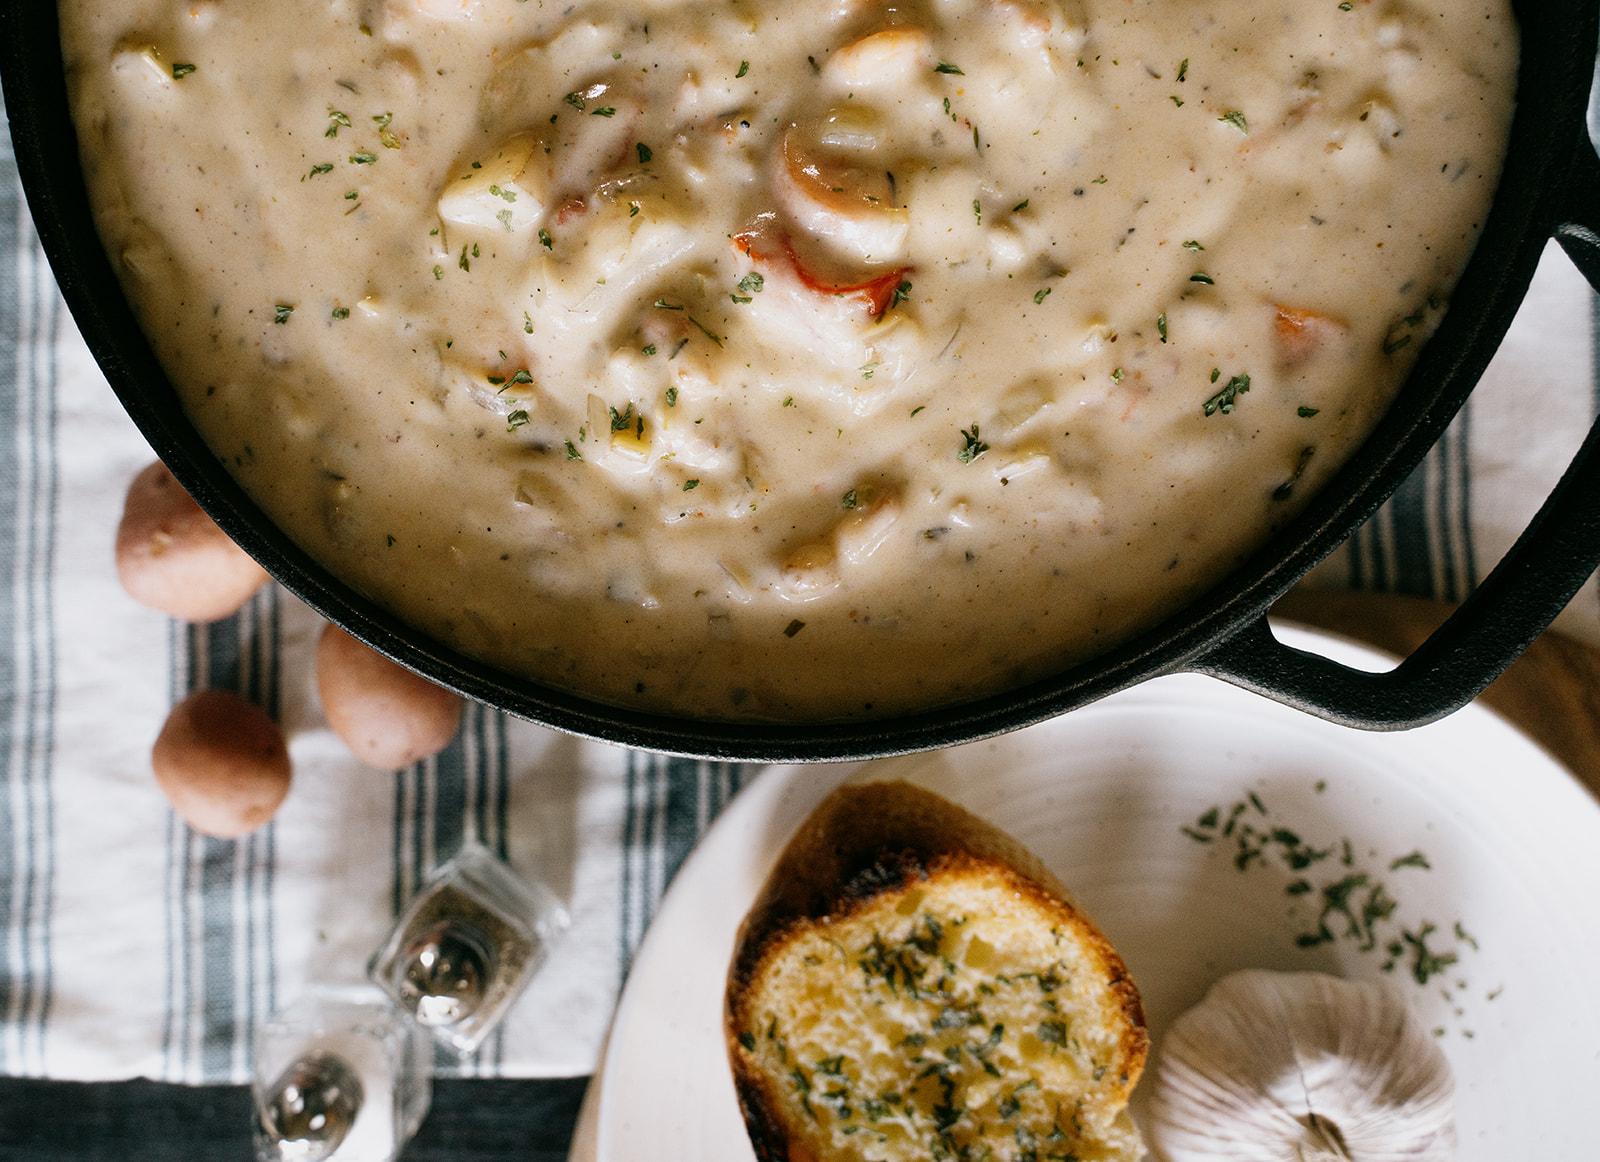
Clam Chowder
Step 1
Start by chopping up your bacon and putting it in a pan to cook.
Step 2
Chop your potatoes and set them into a separate pot to boil until al dente.
Step 3
Once the bacon is cooked (approx 10-15 minutes) add chopped onion, celery, carrot and tomatoes and sauté while the potatoes continue to cook separately.
Step 4
Once the potatoes are soft enough to put a fork through, add them to the bacon and veggies; toss gently and put the heat on low, stirring occasionally – you do not want the potatoes to break apart too much but this process makes a sort of hash of the veggies, which releases the starch, and thickens the soup (makes up for my removing the heavy cream found in most chowders); you will notice the colours start to blend in nicely from the tomatoes as they break down.
Step 5
Melt butter in a large heavy pot on low-medium heat. Remove from heat and add flour, whisking quickly to blend thoroughly. Return to the heat and add cold milk a bit at a time, followed by the cream, whisking fast until smooth and it begins to thicken. Avoid clumps by slowly adding milk a little at a time.
Step 7
Add all spices, clam juice, bacon and the sautéed vegetables to the soup pot. Stir together and start by adding 2 teaspoons of sea salt. Let the salt sit for a couple of minutes and taste. You want it to reach that point where you are on the edge of too salty – but not OVER the edge. Without the right amount of salt, the soup will fall flat and taste bland, or even floury. (Remember to allow the soup to sit for a few minutes before tasting after each salt adjustment… it takes a few minutes for the flavour to be affected).
Step 8
Once you have reached the desired taste, add clams and stir gently. Allow to sit on low heat or simmer for 5-10 minutes, remembering to stir to avoid sticking to the bottom. Serve immediately, or leave in the pot on the stove for a while to allow the flavour to really soak through the vegetables.
Chef Women of Grace
Ingredients
- › 6 Strips Bacon, diced
- › 2 Cup onion, diced
- › 2 Cup celery, diced
- › 2 Cup carrots, diced
- › 2 Cup cherry tomatoes, quartered
- › 2 Teaspoon Cracked black pepper
- › 2 Teaspoon Dried thyme
- › 2/3 Teaspoon Dried tarragon
- › 1 Piece Bay leaf
- › 2/3 Cup Butter
- › 1 1/3 Cup whole wheat/grain flour
- › 5 Tablespoon Clam juice
- › 6 Cup 1% milk
- › 2 Cup Whipping Cream
- › 6 Piece Large red potatoes, diced
- › 2 Can Baby clams
- › to taste Sea Salt
You may also like these recipes
-
Jennifer Henry IMPORTANT TIPS FOR THE PERFECT SHELL: The right pie plate: Glass is the best pie plate since it heats slowly and more evenly. Ceramic is also a good option. And while all crusts will shrink a little when you bake them, metal pans shrink the crust unevenly, and you lose the nice fluted edging. Avoid a shrinking shell: don't overwork the dough. This will activate the gluten and make the pie shell shrink. It's best to chill the dough in the fridge BEFORE rolling it into the pie shape, and BEFORE putting it into the oven for about 10 minutes each time. Add a little weight: if you are using a cooked pie, you can add your filling and bake the pie as per normal - the filling will act as its own weight. If you are making a chilled pie, poke fork marks in the bottom and sides of your pie shell, place a piece of parchment paper on top of the crust and fill with beans. This weight will help the shell to maintain its shape. After baking, cool with the beans and remove only after the shell has cooled (about an hour or so). Don't rush the cook: bake @ 350°F until browned nicely (each oven will be different) - this can be 20-40 minutes for an unfilled shell, or twice as long for a filled one. Every pie will be different so allow yourself lots of time. Allow it to cool: Allow pies to completely chill on the counter, nice and slow, before putting it into the fridge. Fruit pies will have lots of juices that will soak up and slightly solidify over a couple of hours. Custard pies should be left to sit on the counter about 4 hours before putting into the fridge.
15 min
Easy
